Expedition Overview | Wreck Overview | The Bow | The Midsection | The Stern | Debris, Pt 1 | Debris, Pt 2 | Debris, Pt 3 | Memorial Plaque
The Bow
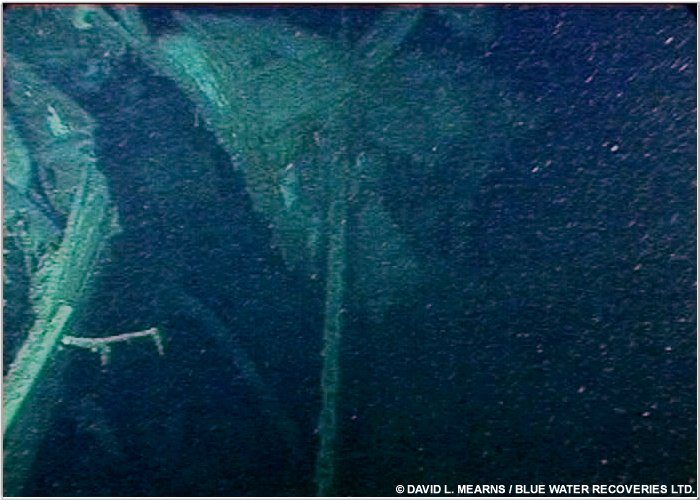
The bow is approximately 100 ft/ 30.5 m in length. Its lying on its port side and appears to be just a shell with much of its internal structure having collapsed or otherwise gone. Because of this, it is greatly deformed/crushed below and aft of its remaining structure, the hawse pipes and prow. Its anchor cables stream out in different directions (neither anchor was found).
Please note that we have slightly modified some of these photos; some were lightened/brightened a small amount to reduce the "murkiness" inherent in underwater photographs. Lastly, please be aware that this page is image intensive, and may take some time to fully load.
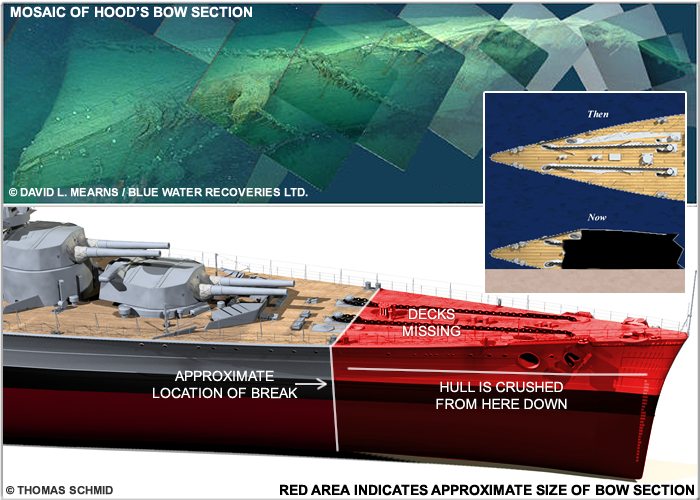
Above- Views of Hood's bow, "then" and "now": On the top, a mosaic of images shot in July 2001. On the bottom, a computer graphic showing the approximate size of the bow section. This latter images is by no means an 100% accurate depiction, but is sufficiently close enough to enable the reader to comprehend the current state of the bow. Please ignore the reddish colour of the ship's bottom...this is an old graphic and we've since confirmed that the bottom was dark grey/black!
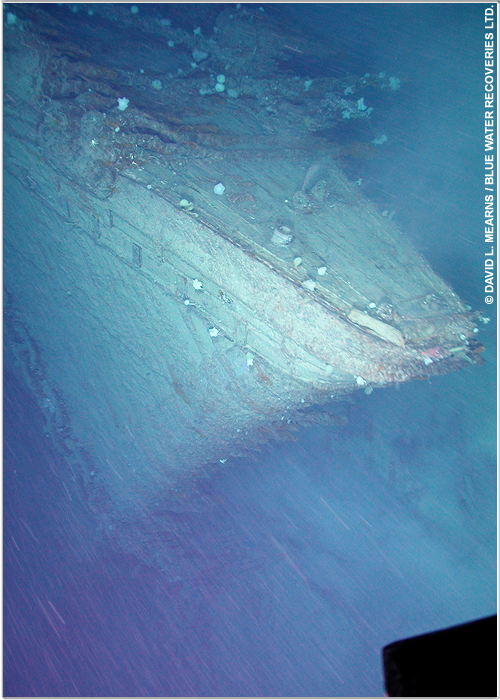
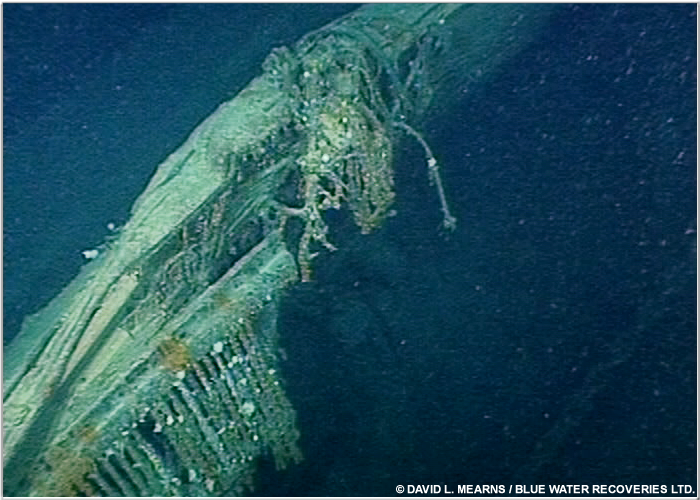
The tip of the bow, or, "prow". The "bull ring" (a hoop-like fitting that one sat at the very edge) is now gone as are the stanchions and wooden flagstaff. Note the various deck fittings and even the presence of some teak decking. Also note the degaussing cable/coil that encircles the section. This cable was a means of demagnetising the hull so as to not attract magnetic mines.
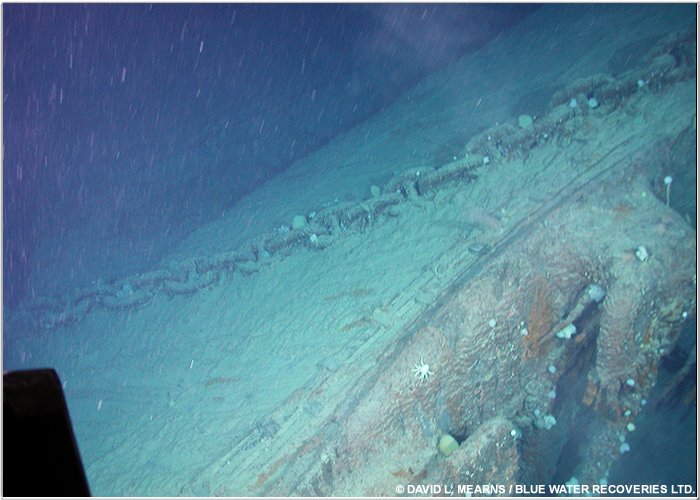
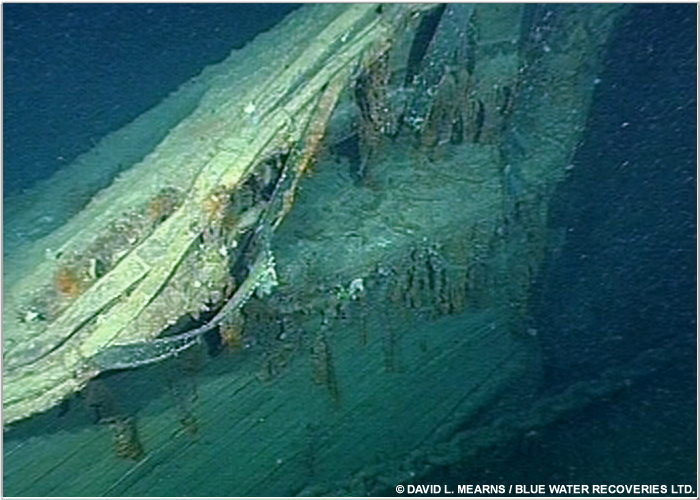
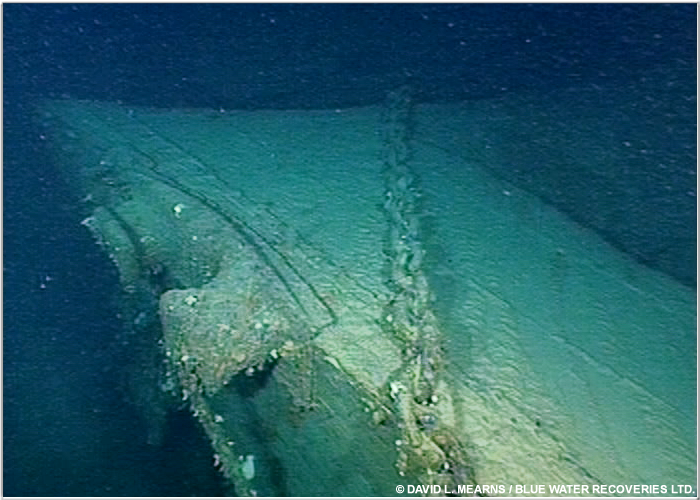
Shown here is Hood's large starboard bow fairlead. Also seen is a section of anchor cable/chains. To the left, you can see how the lower structure of the bow has been severely crushed by implosion.
Moving aft, one can now see the rear half of the large starboard bow fairlead. It is entirely intact (as is its port counterpart). The large main anchor cable/anchor is still visible as is a smaller chain. This is the same size chain as that shown in the 1940 bow photo at the top of this page. It was against this chain that the Roll of Honour plaque was ultimately laid.
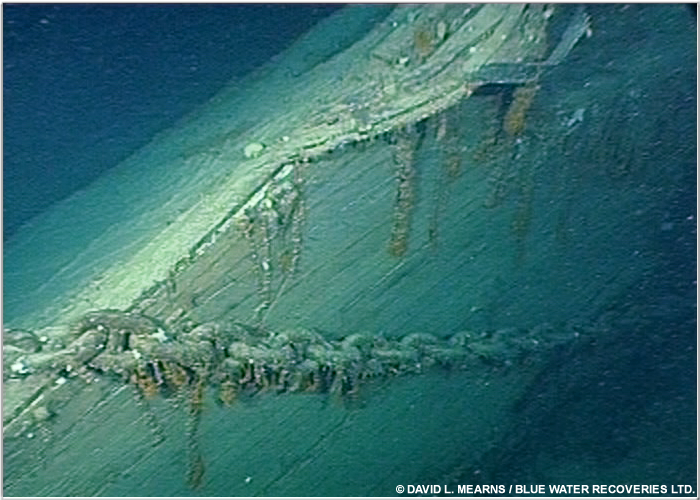
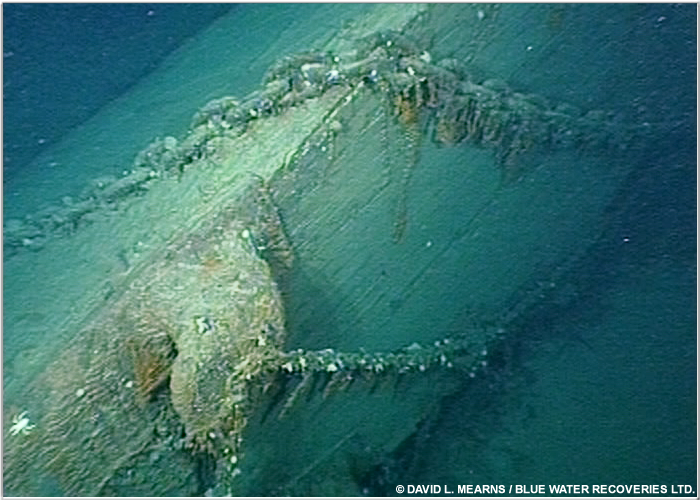
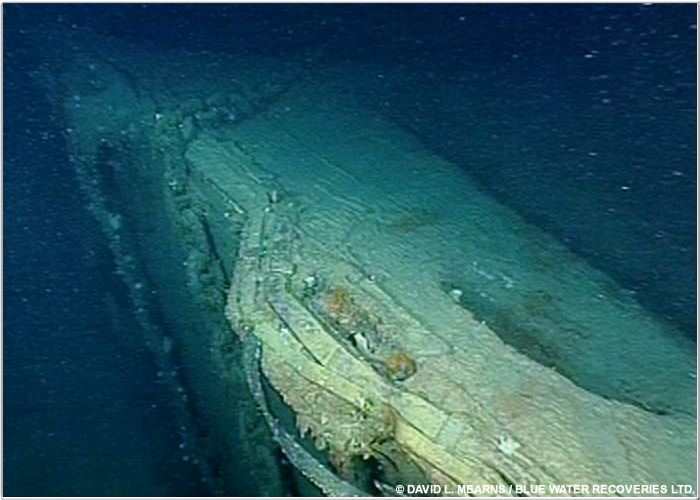
Moving farther aft, the planking is more readily visible. One can also see the forward edge of the starboard degaussing cable fairing. This was essentially a metal plate fixed to the hull's top edge, that made it possible for the degaussing cable to rise over and around the anchor. A similar, but smaller fairing also existed to port (as can be seen in the 1940 bow photo at the top of this page).
More of the degaussing cable fairing. It appears to be notably damaged, with the twin cables being exposed. One can also see the forward starboard hawse pipe. This was an opening in the ship's side which extended up through the forecastle deck. It was where the starboard forward anchor was stored.

Moving aft from the forward hawse pipe towards the rear hawse pipe. At this point, the gutted interior of the bow comes into site. The forward most bollard can be seen attached to a piece of decking that has collapsed downward into the bow. More of the damaged degaussing cable and fairing can be seen as well.
This is the aft starboard hawse pipe. Hood once had two anchors to starboard, but sometime late in her career the aftermost one was removed. The through-deck opening of the hawse pipe was covered with a grating topside. That grating is still in place. From here aft, the bow takes on a rather cavernous appearance- its decks have either been ripped out or have collapsed downward and out
of sight.
Aft of the rear hawsepipe, the hull is largely gutted.
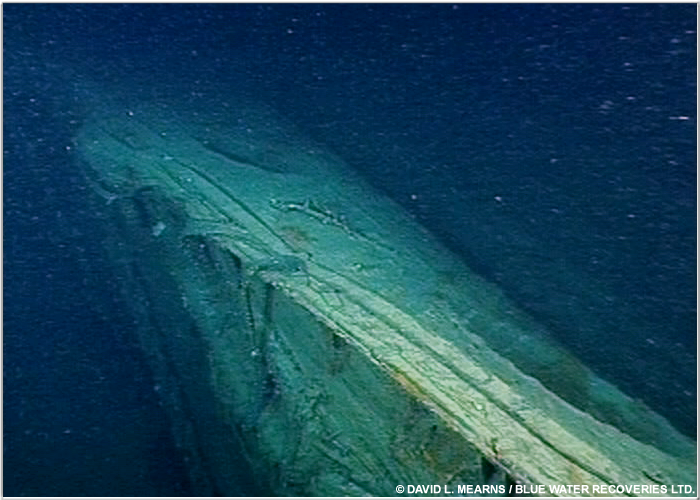
This is the the broken end of the bow section. This corresponds to roughly where the capstans were once located. Its notably tangled and twisted.
Another view of the bow. To the right, the bow is crushed.
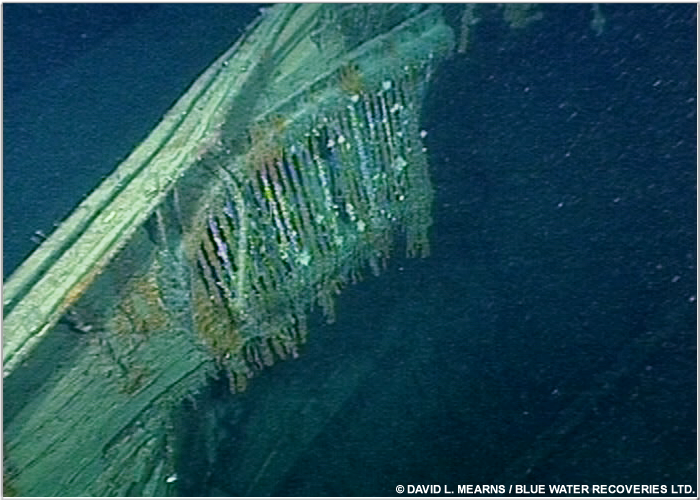
Here is another view of the forward portion of the degaussing cable fairing. The starboard forward hawse pipe openings is also clearly in view. If you look closely at the fairing, you can see that there is a rectangular opening within the fairing. This is for a small fairlead. From here aft, the fairing is heavily damaged. The depressed/deformed area of the lower bow is especially noticeable in this view. This crushed appearance may have been caused by implosion, by the decks having been ripped out, or by a combination of both.
Here is another view of the forward portion of the degaussing cable fairing. Both starboard hull hawse pipe openings are also visible.
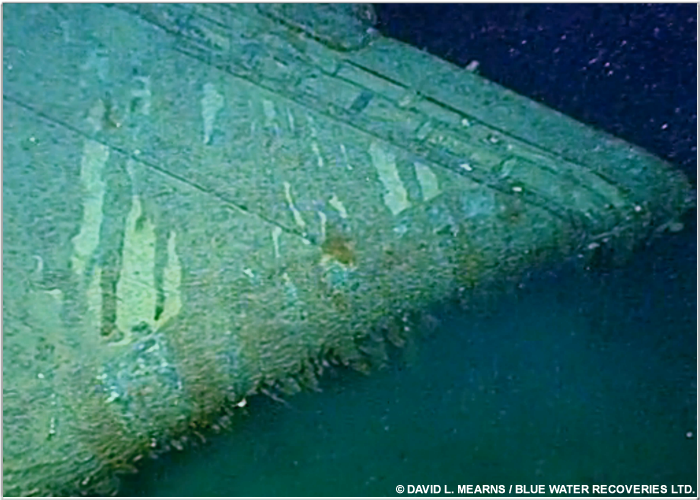
Close-up of the bow.Although rusty and covered with silt, traces of Home Fleet Dark Grey paint can still be seen in places.
Expedition Overview | Wreck Overview | The Bow | The Midsection | The Stern | Debris, Pt 1 | Debris, Pt 2 | Debris, Pt 3 | Memorial Plaque