Part 1 - From Africa to Malaysia | Part 2 - From Singapore to Melbourne, Australia | Part 3 - Melbourne & Sidney, Australia | Part 4 - Sydney, Australia | Part 5 - From Brisbane, Australia to Auckland, New Zealand | Part 6 - From Auckland, New Zealand to Victoria, British Columbia | Part 7 - Victoria & Vancouver, British Columbia | Part 8 - From Vancouver to the Panama Canal | Part 9 - Panama Canal, Eastern Canada & Assorted Items | Part 10 - Assorted Items | Part 11 - Assorted Photos | Part 12 - More Assorted Photos
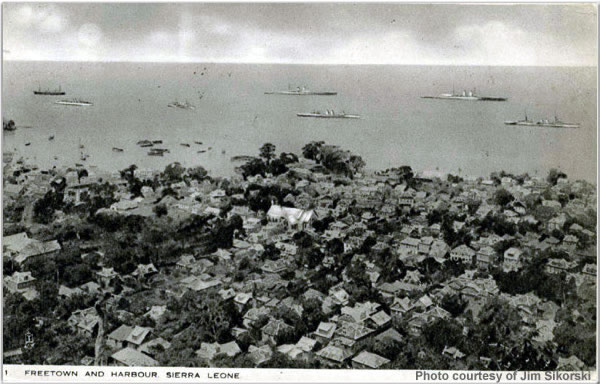
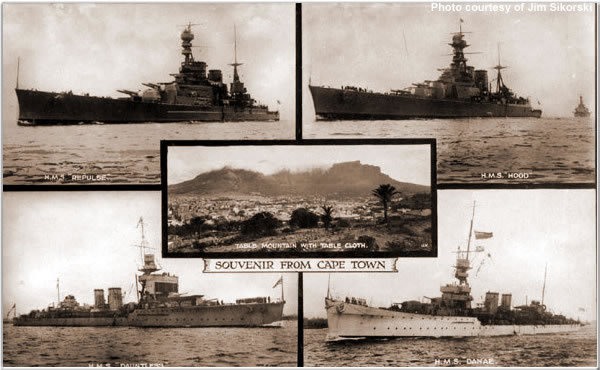
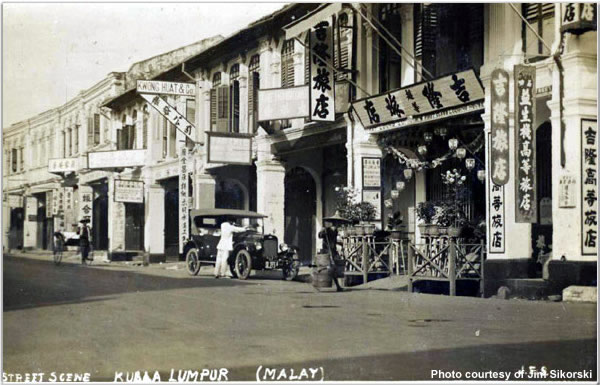
Part 1 - From Africa to Malaysia


Part 1 - From Africa to Malaysia | Part 2 - From Singapore to Melbourne, Australia | Part 3 - Melbourne & Sidney, Australia | Part 4 - Sydney, Australia | Part 5 - From Brisbane, Australia to Auckland, New Zealand | Part 6 - From Auckland, New Zealand to Victoria, British Columbia | Part 7 - Victoria & Vancouver, British Columbia | Part 8 - From Vancouver to the Panama Canal | Part 9 - Panama Canal, Eastern Canada & Assorted Items | Part 10 - Assorted Items | Part 11 - Assorted Photos | Part 12 - More Assorted Photos