Expedition Overview | Wreck Overview | Superstructure, Pt 1 | Superstructure, Pt 2 | Upper Deck & Barbettes | Secondary & AAA Guns | Hull Damage | Torpedo Damage | Assorted "Debris"
Assorted Superstructure Photos, Part 2
Shown here are photos showing various portions of Bismarck's superstructure from roughly amidships and aft. Despite the shell holes, splinter damage and multitude rust, the structures are quite intact and easily recognisable. In most places, her light grey vertical surface and her dark grey horizontal surface paint is still amazingly intact. Please note that we have slightly modified these photos: all were reduced in size and lightened/brightened somewhat to bring out detail. Also, please be aware that this page is image intensive, and may take some time to fully load.
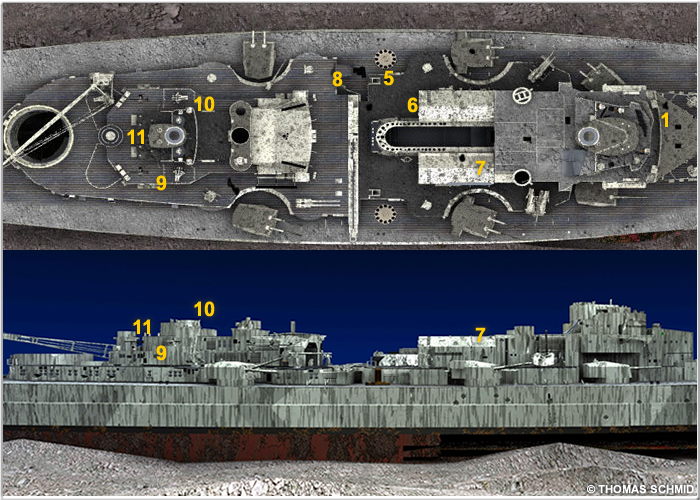
Above- A "You are here" map of Bismarck's superstructure. The numbers listed on the above image correspond to the areas/items shown
in the various photos below.
This corresponds to "5" on the superstructure map near the top of this page. Amidships, port. This is a shell hole just forward of the catapult. Near the top-centre , you can just barely make out the diesel exhaust pipes from the funnel opening. The port aircraft hangar is just out of view at the top/left. Of particular interest here is the heavy amount of rust, no doubt caused by a fire having burned off the protective light grey paint.
This corresponds to "6" on the superstructure map. This is the interior of the port aircraft hangar. This is immediately abaft the bridge and to the left of the funnel opening. It could house a single Arado AR-196 seaplane.
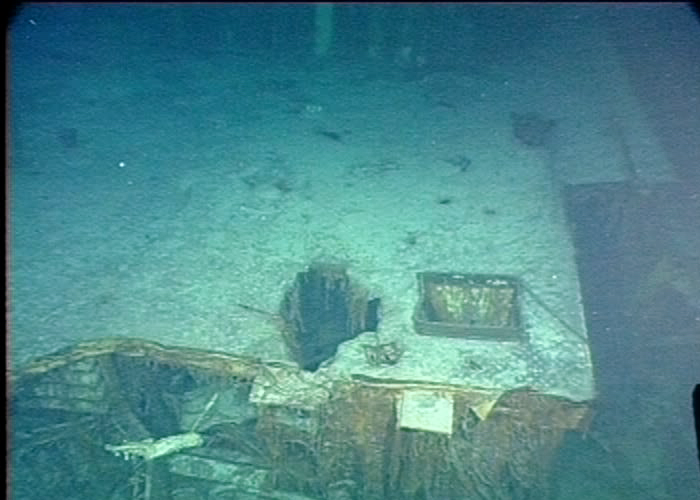
This, and the following photograph correspond to "7" on the superstructure map. The starboard hangar. This is the small, single aircraft hangar immediately abaft the bridge and immediately to starboard of the funnel opening. To the right, you can see the rear of the forward superstructure. The tangled beams are motor boat crutches/supports. At the bottom, you can see the centre 5.9"/15cm turret and railings.
The starboard hangar from overhead. Note the large shell hole through the roof. Also not the remnants of boat supports.
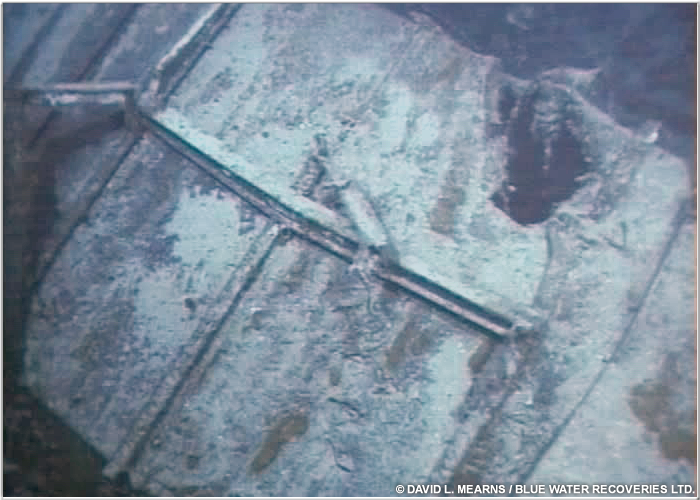
This, and the following photograph correspond to "8" on the superstructure map. Port side view of the catapult area. This area is heavily damaged and was apparently ravaged by a substantial fire. It is not actually a large gaping hole in the Upper Deck (as reported by Dr Ballard), but is a section of destroyed superstructure and heavy corrosion/discoloration.
A close-up view of the port side catapult area. Just out of view to the right is the main aircraft hangar.
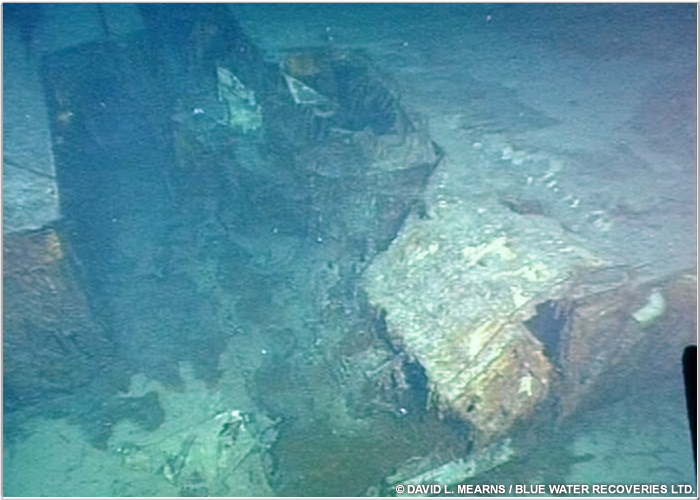
This corresponds to "9" on the superstructure map. The after superstructure and one of the remaining 1.5"/3.7cm L83 SK-C/30 antiaircraft mounts. This appears to be the starboard side.
This corresponds to "10" on the superstructure map. Damage on the port side of the aft superstructure.

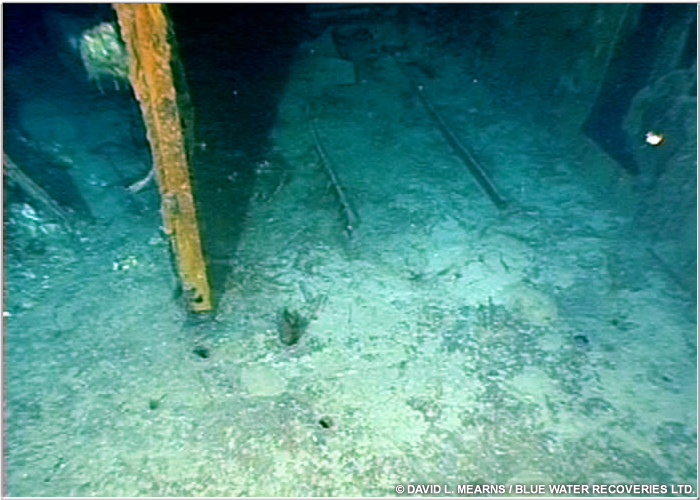
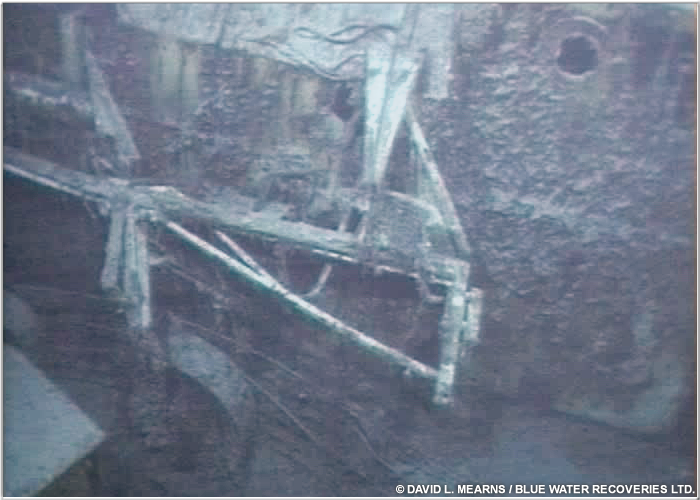
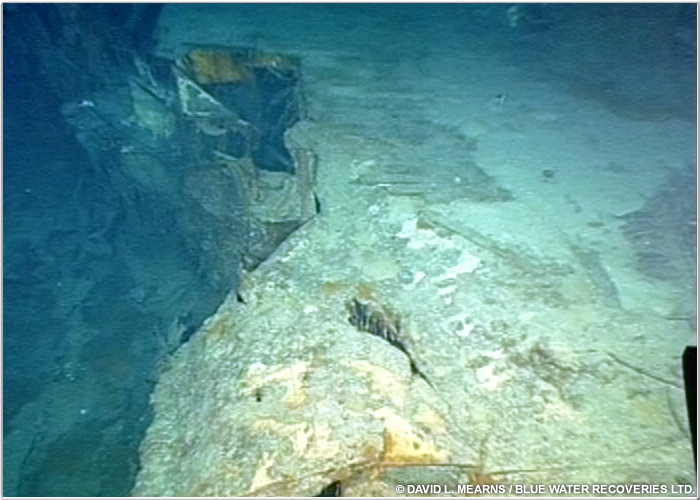
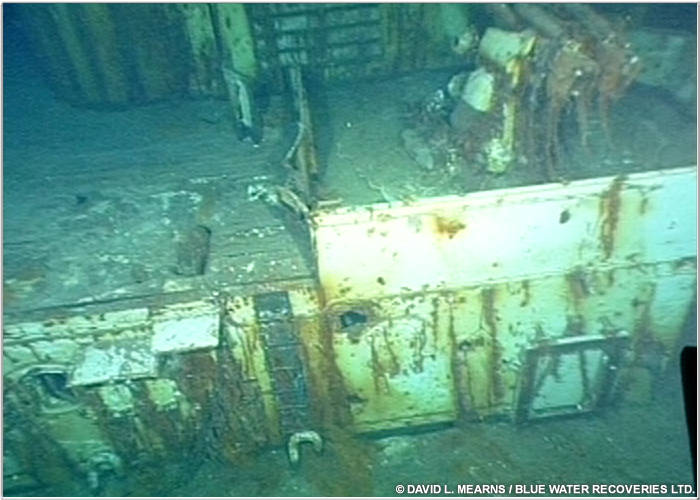
This, and the remaining photographs correspond to "11" on the superstructure map. Rear superstructure. Note the intact teak planking on the deck between the antiaircraft director and the section of superstructure to the right.
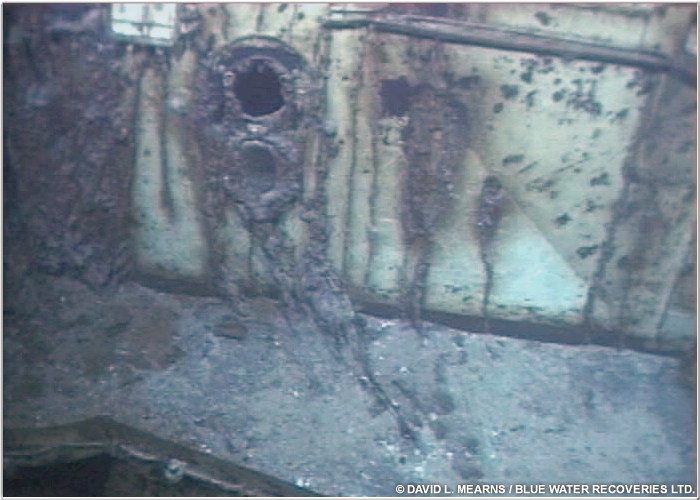
The aftermost gunnery control station. This was the station of 3rd Gunnery Officer Baron von Müllenheim-Rechberg. It is intact, except for the fact that it is missing its 34.5ft/10.5m rangefinder (shot away during the battle). Note the deck around this structure. It is steel, painted dark grey. This area was planked on her sister Tirpitz. The deck is covered by a layer of sediment. The objects near the starboard corner of the structure are base/attachment points where a light antiaircraft gun once stood.

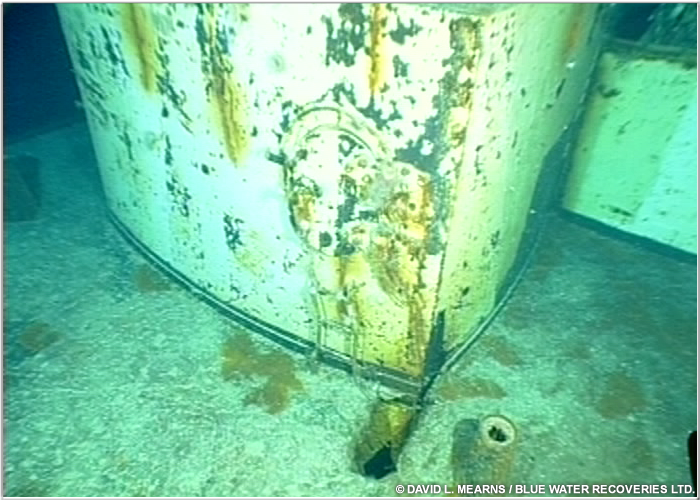
Above- The rear antiaircraft director. Though its shielding is deformed and its 13ft/4m Type SL-8 director is missing, it is still remarkably intact. Inset- Note the metal floor grating.
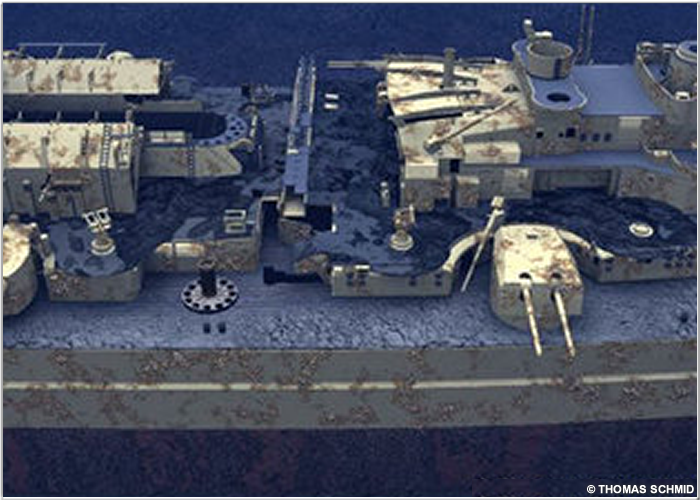
A computer rendering of Bismarck's port side. This roughly corresponds to much of what was shown in the above photos.
Expedition Overview | Wreck Overview | Superstructure, Pt 1 | Superstructure, Pt 2 | Upper Deck & Barbettes | Secondary & AAA Guns | Hull Damage | Torpedo Damage | Assorted "Debris"