Expedition Overview | Wreck Overview | Superstructure, Pt 1 | Superstructure, Pt 2 | Upper Deck & Barbettes | Secondary & AAA Guns | Hull Damage | Torpedo Damage | Assorted "Debris"
Secondary & Anti-Aircraft Artillery (AAA) Guns
Shown here are various photos of each of the 5.9"/15cm L55 SK-C/28 turrets as well as some of the 4.1"/10.5 cm L65 SK-C/37 AAA. Please note that we have slightly modified these photos: all were reduced in size and lightened/brightened somewhat to bring out detail. Also, please be aware that this page is image intensive, and may take some time to fully load.
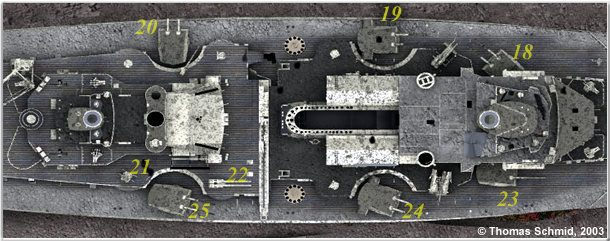
Above- A two-part "You are here" map showing Bismarck's superstructure and gun locations. The numbers listed on the above image correspond to the areas/items shown in the various photos below.
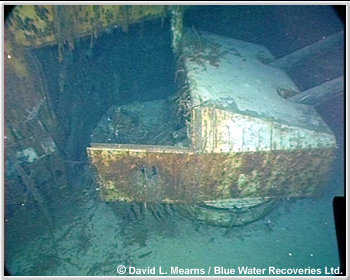
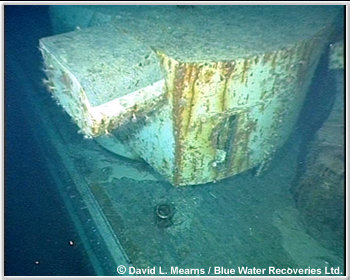
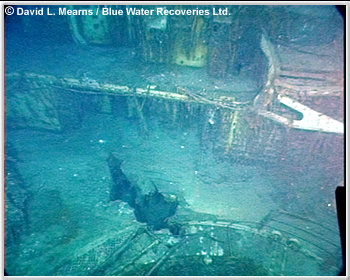
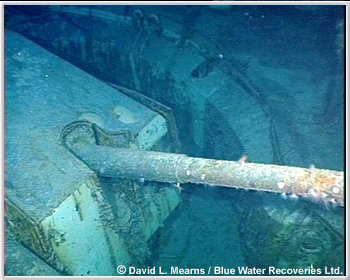
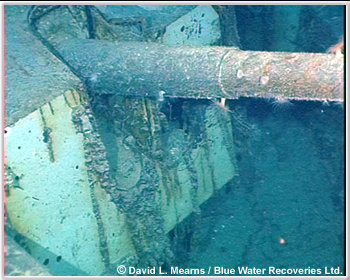
This, and the following photograph correspond to "18" on the superstructure map near the top of this page. This is 5.9"/15cm L55 SK-C/28 turret "P1". This is the forward most turret on the port side. It has been penetrated and has lost its top/rear half. Apparently this event also caused heavy damage to the structure behind it. It may appear that the roof of this turret is light grey, but it is actually not. There is a large amount of sediment obscuring the dark grey surface.
A close-up of the damaged rear portion of 5.9"/15cm L55 SK-C/28 turret "P1".
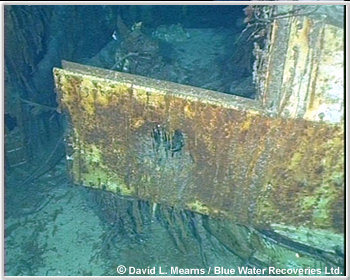
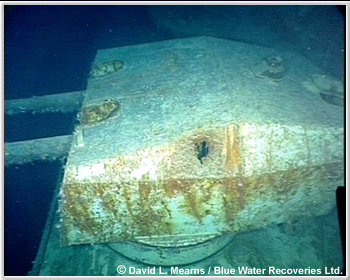
This, and the following photograph correspond to "19" on the superstructure map. This is 5.9"/15cm L55 SK-C/28 turret "P2". It is the middle turret on the port side. Note the shell penetration through the centre of the roof. Also note the dark grey paint on the top panels. Though obscured by sediment and rust, the dark colour can still be clearly seen.
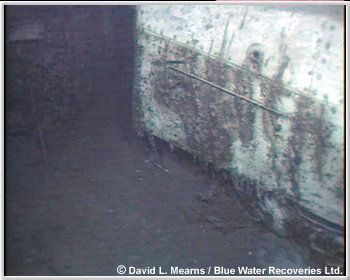
The rear portion of 5.9"/15cm L55 SK-C/28 turret "P2". The escape hatch appears to be open.
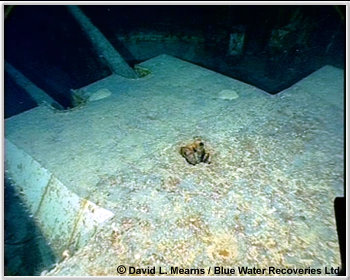
This, and the next photograph correspond to "20" on the superstructure map. This is 5.9"/15cm L55 SK-C/28 turret "P3". It is the aft most turret on the port side. This was not imaged in detail by Dr Ballard in 1989, and is not positioned correctly in the wreck paintings within his book. Note the shell entrance hole...
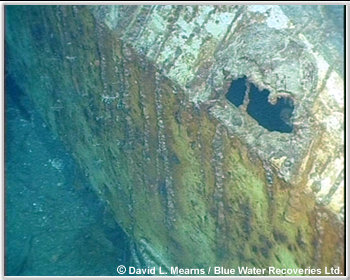
...and now note the exit hole on the opposite side.
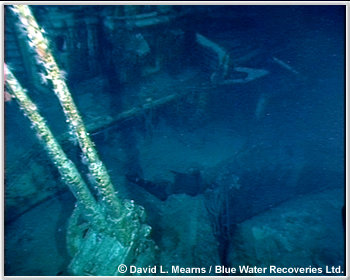
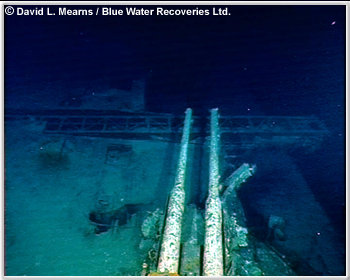
This, and the next photograph, correspond to "21" on the superstructure map. Starboard side, just to the rear of 5.9"/15cm L55 SK-C/28 turret "S3". Here, you are looking inboard and slightly forward. Note the 4.1"/10.5cm L65 SK-C/37 mount. It is missing its covering and both barrels have been swept upward.
Same area, slightly different vantage point. To the right, you can see the main aircraft hangar. You can see an interesting overhead view of this area on page 193 (image 10) of the Ballard book. Note the flattened railing and chain link mesh at the bottom/left.
This corresponds to "22" on the superstructure map. A view of 4.1"/10.5 cm L65 SK-C/37 turret "S3". This is on the starboard side of the hull. Note the shell holes and aircraft catapult beyond the gun.
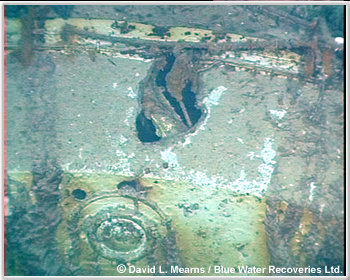
Shell or shrapnel hole near the top edge of one of the secondary turret alcoves on the starboard side. Note the closed scuttle immediately below, as well as what appear to be smaller shrapnel penetrations.
This corresponds to "23" on the superstructure map. This is 5.9"/15cm L55 SK-C/28 turret "S1" (forward most turret, starboard side).

This corresponds to "24" on the superstructure map. This is 5.9"/15cm L55 SK-C/28 turret "S2" (middle turret on the starboard side).
This, and the next photograph correspond to "25" on the superstructure map. This is 5.9"/15cm L55 SK-C/28 turret "S3". This is the aft-most turret on the starboard side.
Another view of 5.9"/15cm turret "S3". Note the dark barrels and the dark grey roof (not yellow as reported by survivor Otto Maus who manned this turret). The most significant feature of this photo is what appears to be large shell hole through the face plate of the turret directly beneath the sighting port.
Expedition Overview | Wreck Overview | Superstructure, Pt 1 | Superstructure, Pt 2 | Upper Deck & Barbettes | Secondary & AAA Guns | Hull Damage | Torpedo Damage | Assorted "Debris"