Expedition Overview | Wreck Overview | Superstructure, Pt 1 | Superstructure, Pt 2 | Upper Deck & Barbettes | Secondary & AAA Guns | Hull Damage | Torpedo Damage | Assorted "Debris"
Damage to the Hull (Assorted Views)
Shown here are a few examples of some of the shell damage to the hull. Please note that we have slightly modified these photos: all were reduced in size and lightened/brightened somewhat to bring out detail. Also, please be aware that this page is image intensive, and may take some time to fully load.
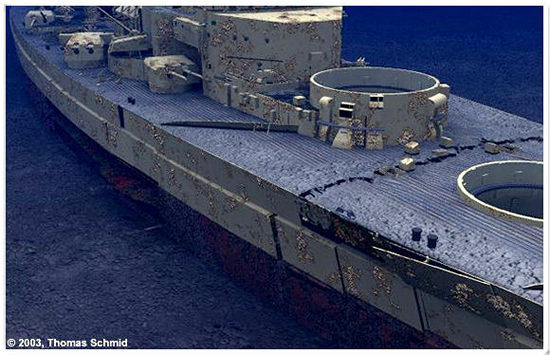
We will not present a wreck map for this page due to the fact that we do not have the exact locations of all hits shown in our photos. What we present here instead, is an artistic rendering of Bismarck's starboard side. Here you get an overview of typical damage to the hull: shell impacts, missing lower hull plating (abreast the bridge), the displacement of the armour belt, and compression damage from the impact with the volcano.
A hole in the port bow, quite near the stem.
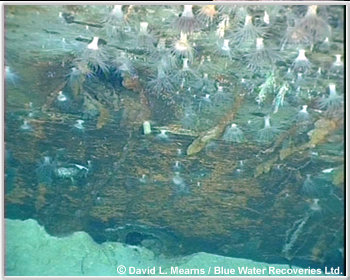
Two hits shown here near the waterline on the port side of the bow. This photo illustrates how the bow is covered in a myriad of sea anemones.
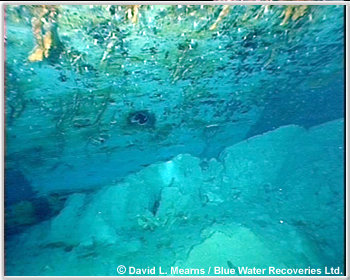
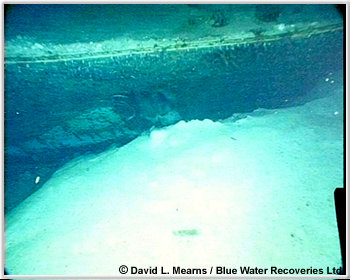
This is possibly a very famous hit: This is a candidate for the bow hit made by a 14" shell from H.M.S. Prince of Wales during the Battle of the Denmark Strait. This would be the port side entrance hole. Note the white false bow wave directly beneath this.
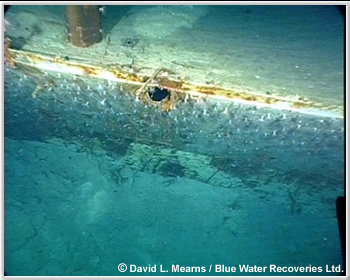
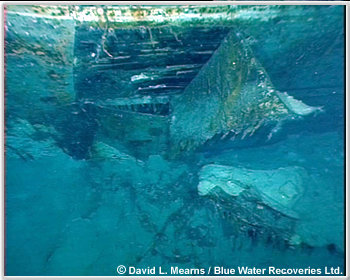
This is undoubtedly a very famous hit: This is the exit hole from Prince of Wales's hit on Bismarck's bow- the hit that effectively ended Bismarck's participation in Operation Rheinübung. It is exactly as described by Bismarck survivors. Shown here is the @ 6.5 ft/2m wide exit hole at the top of the false bow wave on the starboard side. The earliest wreck assessments concluded that this famous hit could not be located. Clearly, it had indeed been imaged, but not identified.
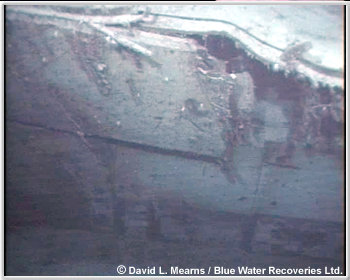
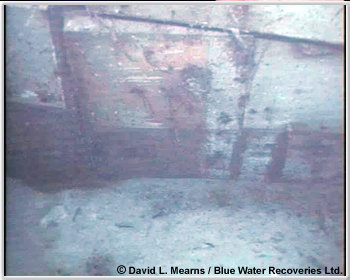
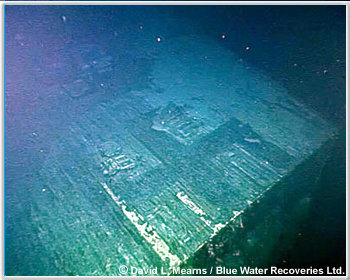
Port side- Damaged armoured plating likely caused by compression when the ship struck the bottom. This would appear to have caused the lines of the hull (when viewed from the side) to have changed slightly- the bow appears to be "bent" slightly upward. Overall, the hull is far more damaged than Dr Ballard had originally stated in his book. The wreck is not as pristine as originally thought.
Damage, possibly from the same compression, but this time on the starboard side. Note the damage to the hull at the forward end of the armoured belt.
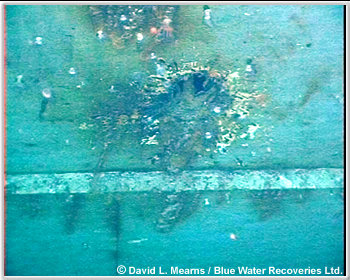
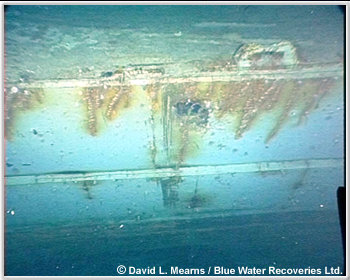
Typical example of shell hits on the hull. Most appeared to have simply "splatted" against the steel sides of the hull. This particular hit is to port.
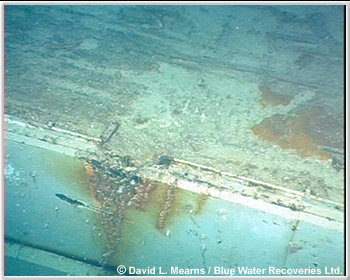
Displaced armour on the starboard side. This was caused, no doubt, by the impact and slide.
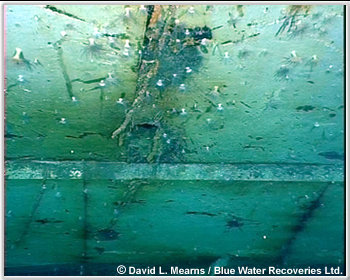
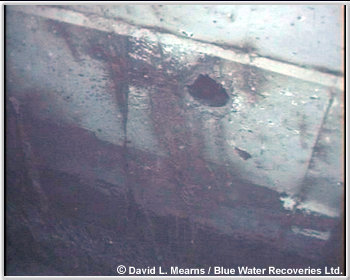
A penetrating hit above the main armour belt on the port side.
One of the very few penetrations of the main armour belt. This one is to starboard.
More damage on the port side.
Even more damage on the port side. An interesting side note here is that these photos clearly demonstrate the fact that Bismarck's hull was indeed painted a darker shade of grey than her superstructure.
Lastly a view of the stern break. The swastika is still present. Note the sediment deposited on the deck during the slide down the volcano. There are actually great amounts of sediment at various points throughout the ship. The colour of the band surrounding the swastika is difficult to discern. It may be like the forward marking- faded, eroded, flaking grey over red.