Expedition Overview | Wreck Overview | The Bow | The Midsection | The Stern | Debris, Pt 1 | Debris, Pt 2 | Debris, Pt 3 | Memorial Plaque
The Midsection (Main Hull)
This portion of the ship extends from "A" barbette back to the Forward Engine Room. It is roughly 328ft/100m long and sits upside down on the sea bed. The entire starboard torpedo bulge is missing, and the bottom is pockmarked with various occurrences of implosion.
Please note that we have slightly modified some of these photos; some were lightened/brightened a small amount to reduce the "murkiness" inherent in underwater photographs. Lastly, please be aware that this page is image intensive, and may take some time to fully load.
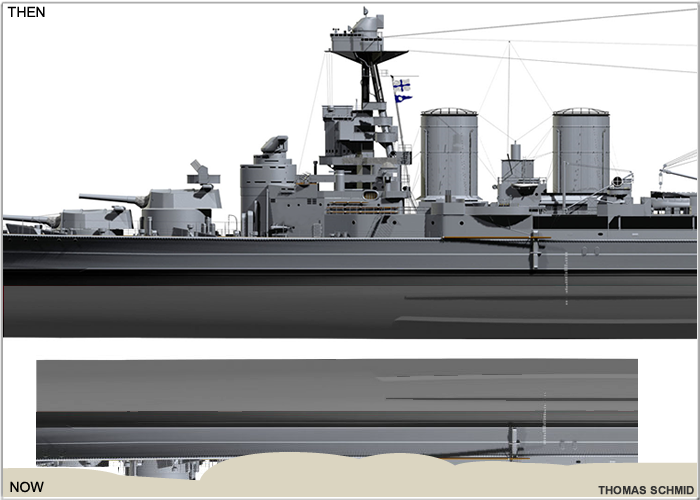
Above- Two computer renderings of Hood's midsection. On the top, is a view of how this section looked in May 1941, prior to the sinking. On the bottom, a very rough approximation of the amount of this same area remaining today. This is by no means an 100% accurate depiction, but is sufficiently close enough to demonstrate the approximate size of this portion of the ship.
A view of "A" and "B" barbettes near the forward end of the midsection.
A close-up of "B" barbette. At the very bottom/left corner, you can see the portion that was once above the focsle deck. The rest of what you see was all originally below deck (as illustrated by the white paint and the lines indicating adjacent decks). This appears to be the 10" and 5" sections of the barbette. This helps illustrate the extensive damage to the front of the midsection.

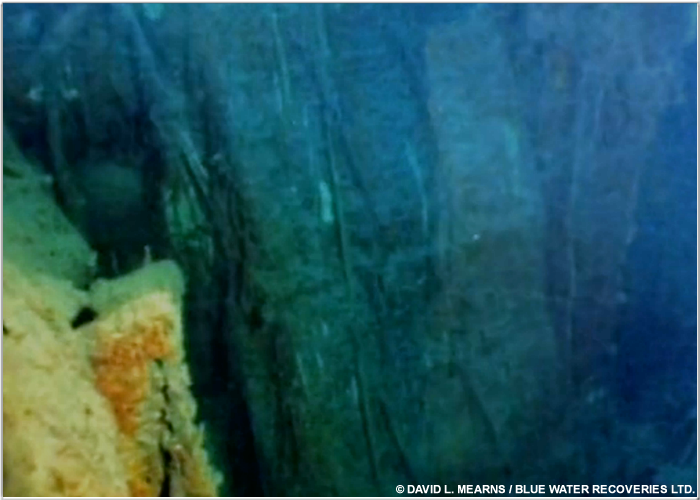
A grated opening in the underside of the ship. These were used to either bring in or discharge water for the condenser.
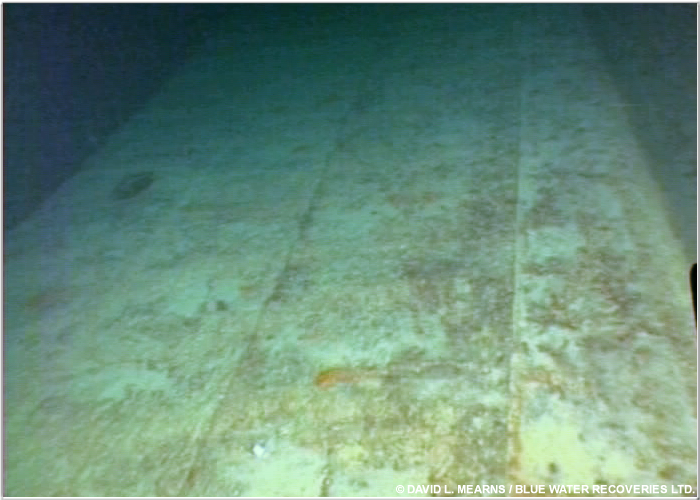
Dark grey paint can be seen peaking through the rust and heavy silt deposits.
The circular object is a seawater condenser intake located on the upturned bottom of the hull.
The darker patches show traces of dark grey anti-fouling paint peaking through rust and silt.
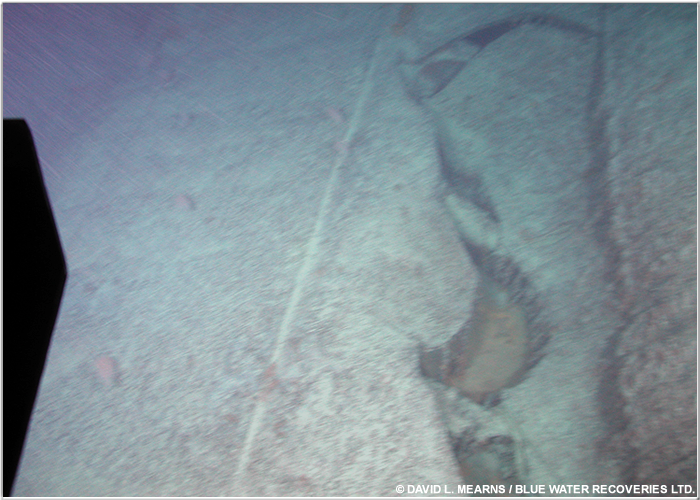
A view of yet another circular seawater intake. This one is near the aft hull break.
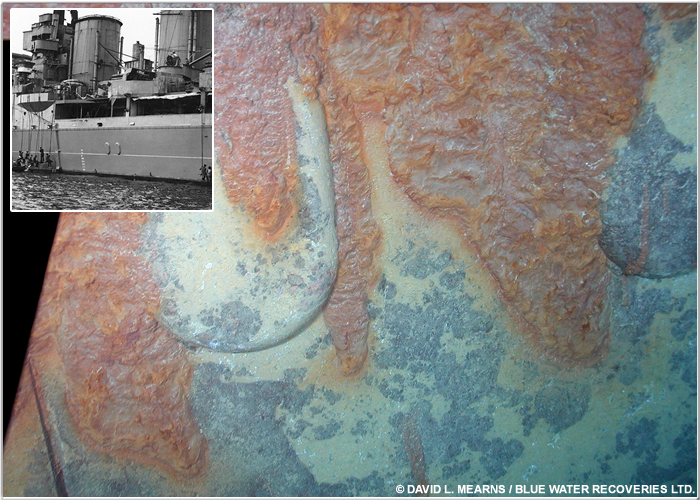
One of the typical instances of implosion damage to the bottom of the ships hull. This at least proves that the metal was not flawed- it exhibits signs that it stretched considerably before giving way. So much for the bogus "brittle Titanic steel" theory...
This appears to be the same instance of damage, but seen from a slightly different view point. This would also appear to be near one of the bilge keels (probably port).
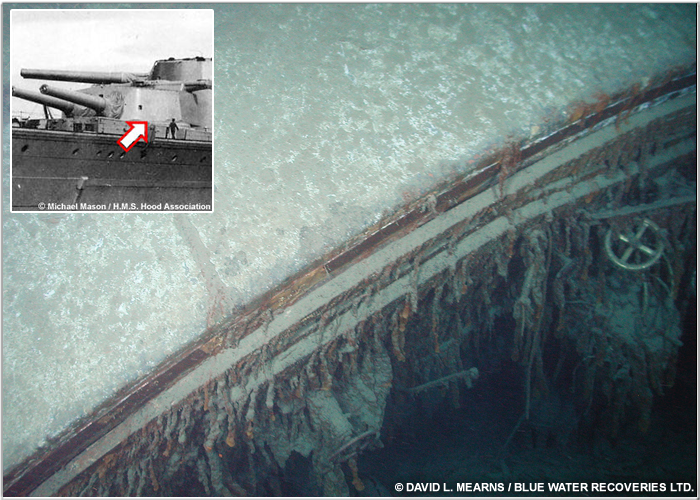
Above/Left- These are the inverted port side coverings over the never-fitted forward above water torpedo tubes. This was a very distinct feature of Hood, and was the first thing to confirm that this was indeed her wreck. Inset- 1940 photo showing the location of the mantlets. Remnants of her Home Fleet Grey paint can clearly be seen.
Above-The inverted barbette of "A" turret. The floor of the massive, rotating gun house is still in place. The walls, roof and guns were lost in the sinking. The ROV is roughly abreast the barbette on the port side of the ship. According to its position, the guns would have been pointing off the starboard bow. This may not have been their final position, but the position they rotated to during the sinking process. Inset- The arrow indicates the portion of the specific gun house seen here.

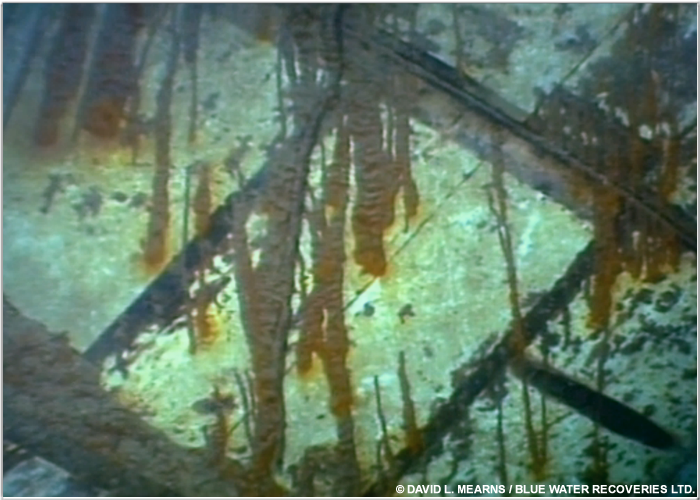
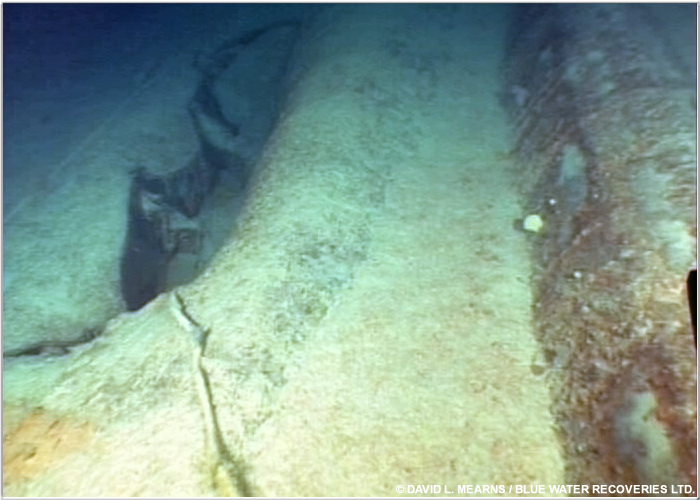
This, and the following two photos, show exposed portions of Hood's double bottom structure. These are from the aft hull break. As you can see, though this break is irregular, it is also fairly "clean" (regular failures, and not blasted outward or heavily twisted). Don't be fooled, this is much larger than it appears. Inset- A view of Hood's box keel in 1916.
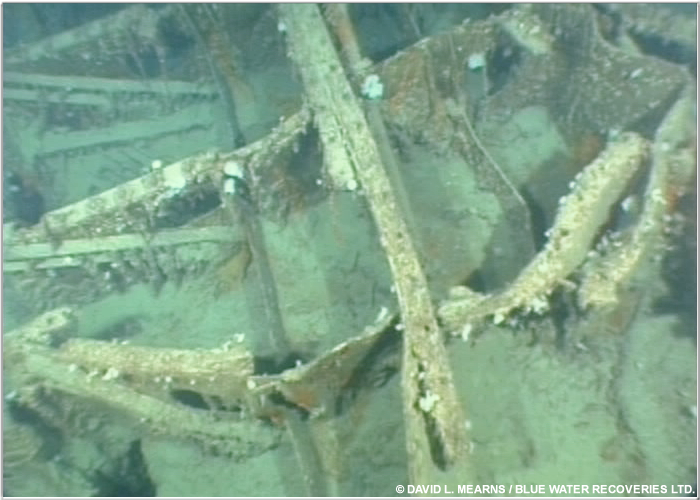
Above- Elements of the double bottom structure.
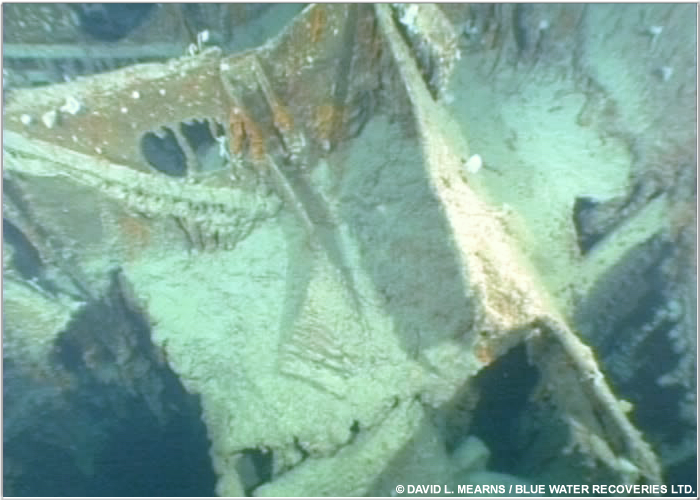
A close-up of the double bottom supporting structure. This looks deceptively small, but its actually extremely large!
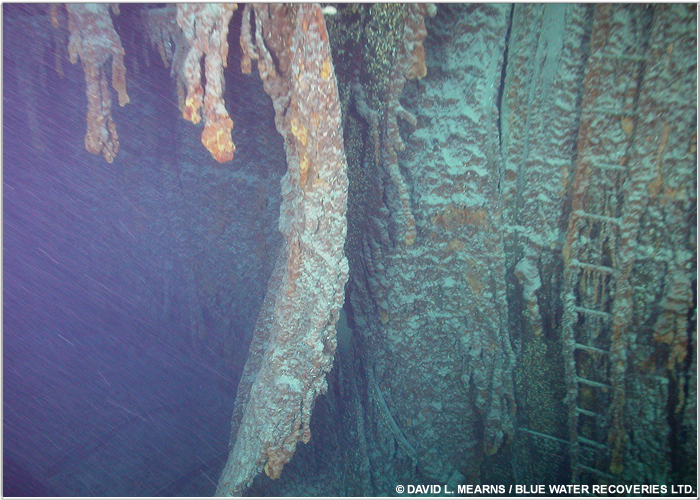
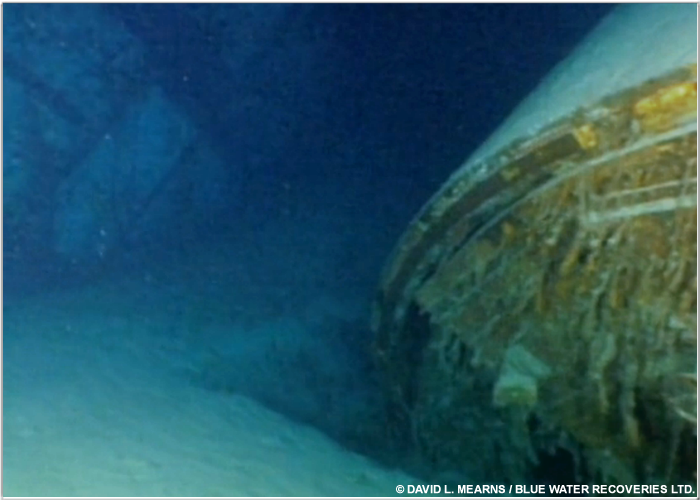
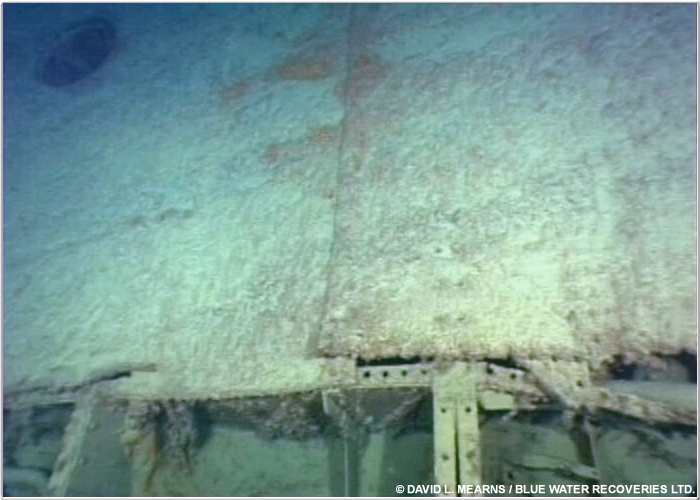
A view of starboard "torpedo bulge". It is missing its external plating (along with the "crushing tubes" that were once in a section of this area). Note the access ladder to the right and the inverted upper deck to the lower left.
Large structure near one of the midsection hull breaks. This may possibly be one of the funnel uptakes.
Expedition Overview | Wreck Overview | The Bow | The Midsection | The Stern | Debris, Pt 1 | Debris, Pt 2 | Debris, Pt 3 | Memorial Plaque