Expedition Overview | Wreck Overview | The Bow | The Midsection | The Stern | Debris, Pt 1 | Debris, Pt 2 | Debris, Pt 3 | Memorial Plaque
The Stern
The stern of Hood is roughly 130ft/40m long overall and is composed of two main segments: The rear segment sticks up from the seabed at an angle of about 45°. The forward segment is more-or-less just a large "flap" of the quarterdeck reaching to the aft curvature of "Y" barbette.
Please note that we have slightly modified some of these photos; some were lightened/brightened a small amount to reduce the "murkiness" inherent in underwater photographs. Lastly, please be aware that this page is image intensive, and may take some time to fully load.
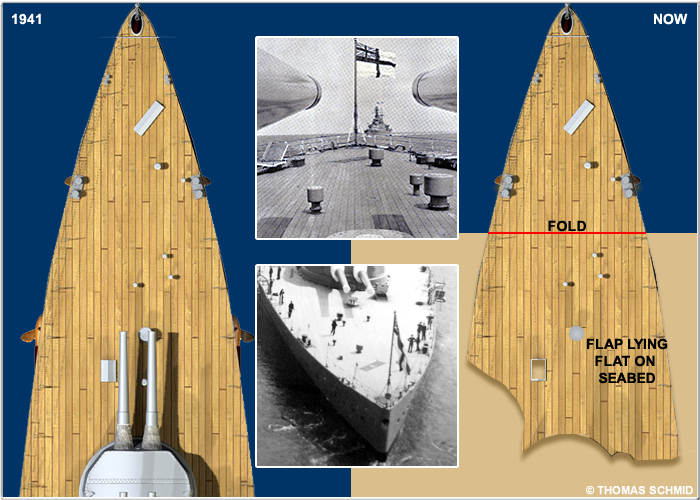
Above- Hood's stern, then and now. To the left, a plan view of how Hood's quarterdeck looked before her loss. To the right, a rough schematic of that same area as seen in 2001. This is not 100% precise in every detail. Its only meant to provide a general overview of the stern as it is today. Inset - Two photos of Hood's quarterdeck.

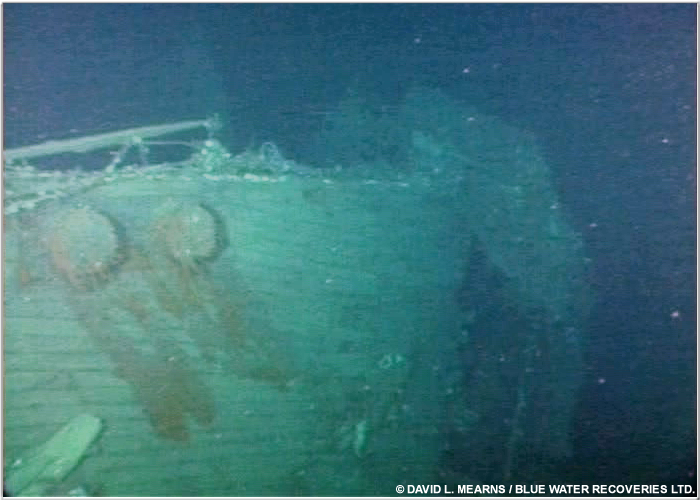
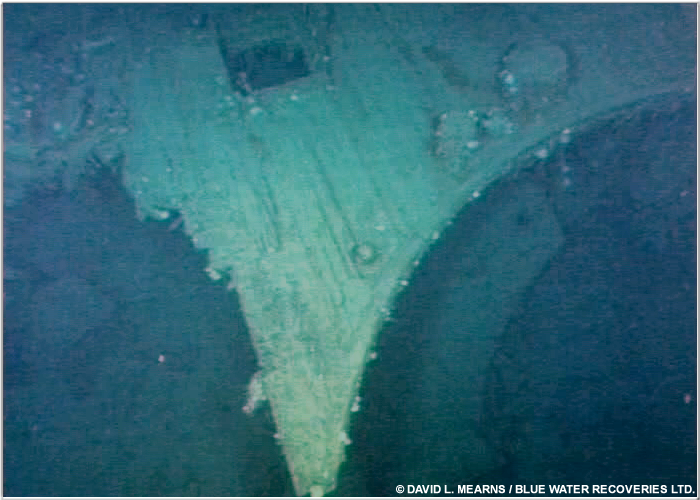
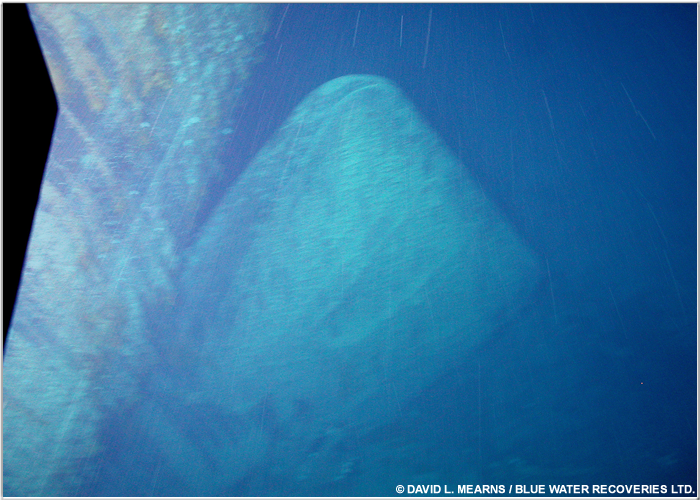
The very end of the stern. It rises nearly vertical from the seabed.
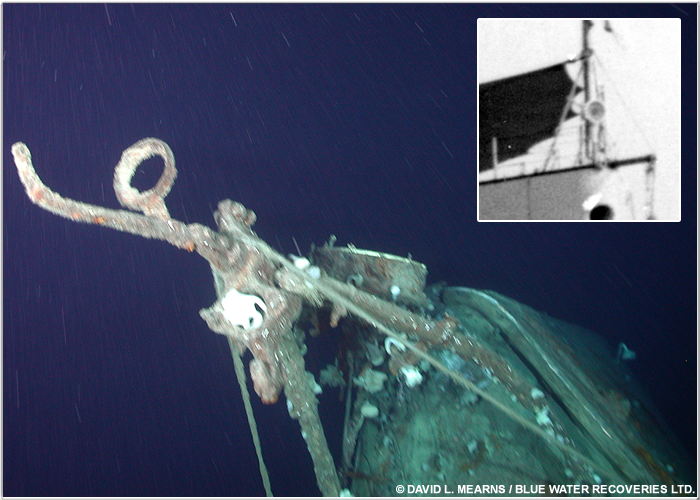
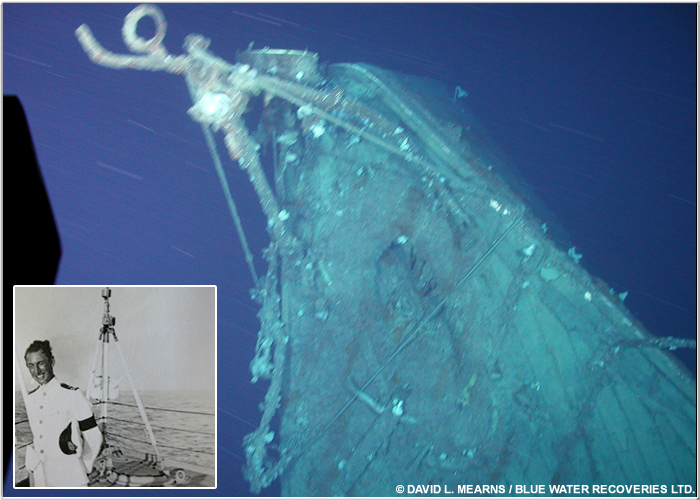
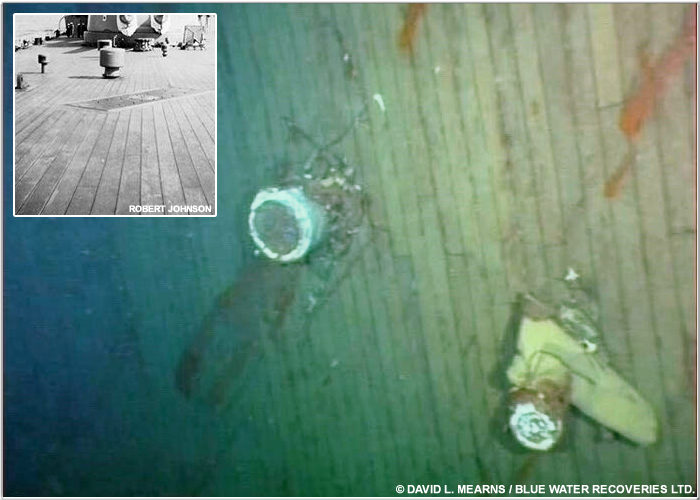
Hood's ensign staff base. This structure is @ 11 feet tall and was used to hold the stern flagstaff. The wooden ensign staff was removed when she put to sea. Attached to the rear leg is the stern navigation light. Inset- The ensign staff circa 1937. The navigation light can be clearly seen.
The oval depression below the staff base is Hood's stern hawse pipe. Along the edges of the hull are tangled safety railing stanchions. These were folded down before the ship went into battle. Inset- A good view of the staff base, hawse pipe and safety rails aboard Hood circa 1938.
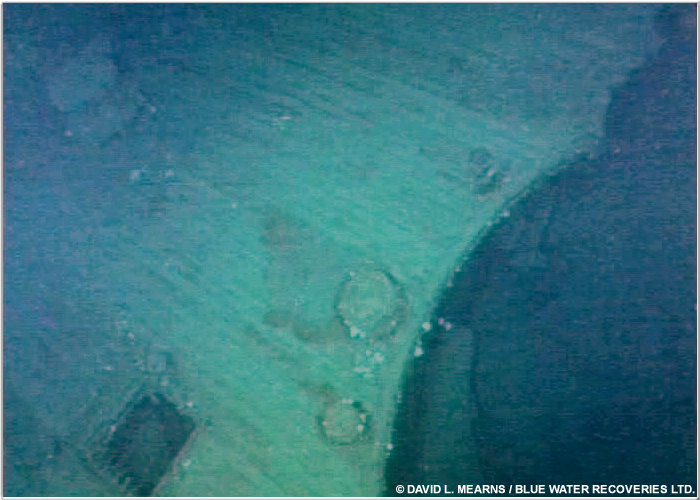
In this image, the diagonally-oriented rudder plate is clearly visible. This plate is directly over the rudder post.
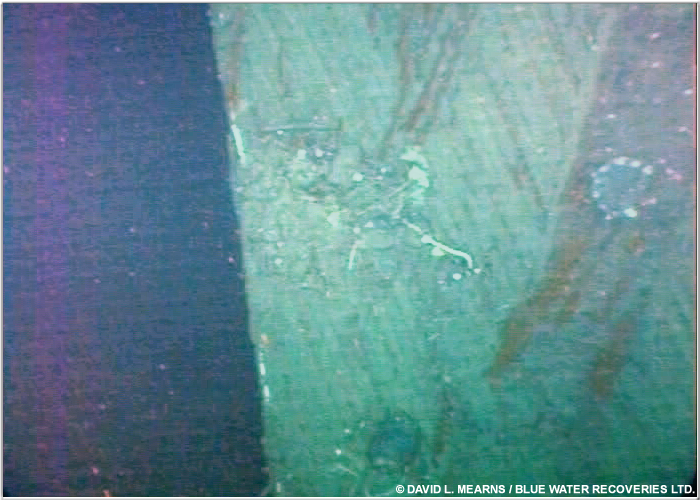
Above/Left- Moving down and slightly to starboard, you can see two mushroom vents. Note the well preserved planking. Inset- A view of these same vents (and the rudder plate) from the 1920s/30s.
A view of the stern section's port side. The ROV was literally sideways for this angle to be achieved. From here forward the stern is notably distorted (particularly to port). In this view, the degaussing cable, tangled stanchions and various deck fittings can be seen.
Another view of the stern section's port side. Note the Home Fleet Dark Grey paint and dual degaussing cables. The wavy appearance of the hull is due to the water distortion or movement of the ROV.
A view of the port forward end of the main stern section. The side plating here is blasted outward. To the left is the rear port bollard.
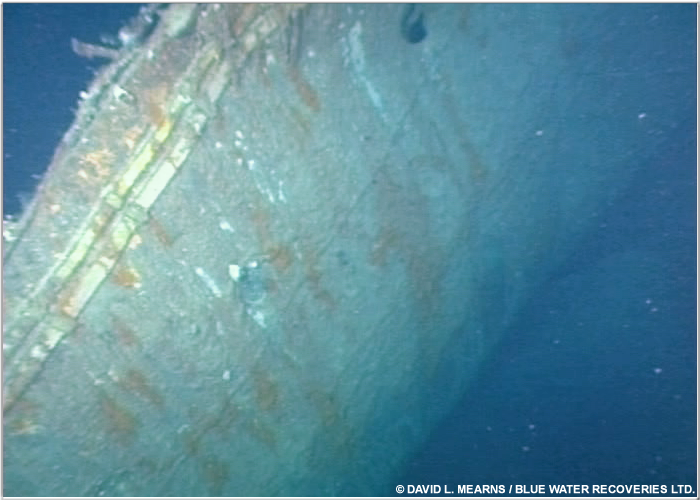
The forward end of the stern break. One can view from roughly amidships and the starboard side of the quarterdeck in this particular photo. This section is actually a large "flap" which is attached to the main stern. This "flap" lies flat on the seabed at roughly a 90 degree angle to the upraised stern. The large circular opening is
the location of the rearmost curvature of "Y" barbette. The barbette itself was not present . It may be in one of the debris fields.
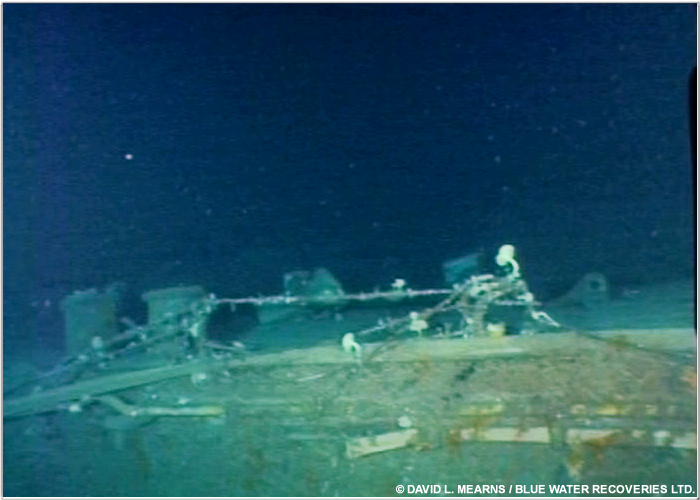
Another view of the "flap" and the forward most end of the stern break. To the left, one can just make out the rear capstan. A number of vents as well as the quarterdeck hatch can also be seen.
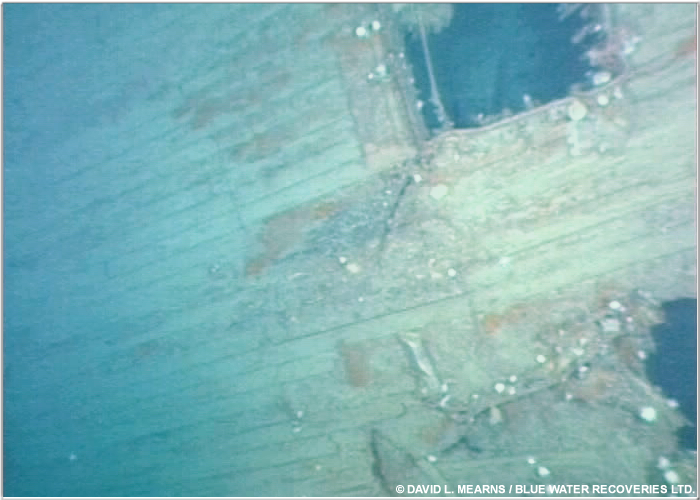
A close-up view of the quarterdeck hatch on the "flap". Note the intact wooden planking.
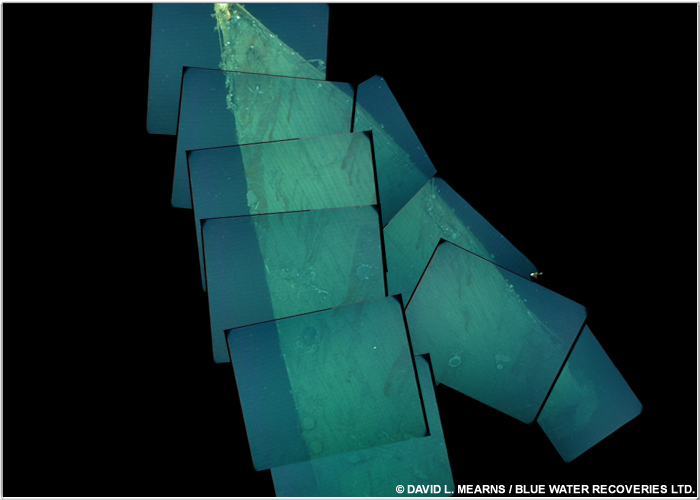
A rough mosaic of the very forward edge of the stern flap.
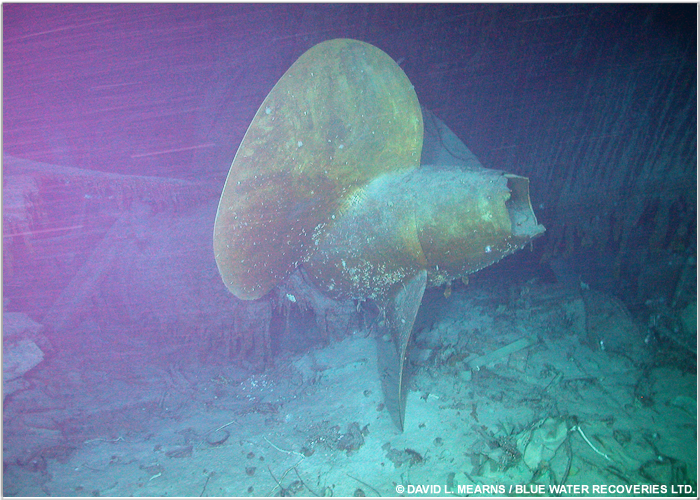
A close-up view of the inner/rear port screw. This was built in 1917/1918 by the Manganese Bronze & Brass Company in London.
The streamlined cap has been crushed due to implosion.
The rear/inner port screw as seen from a greater distance. The underside paint is not red but actually appears to be dark grey/faded black.
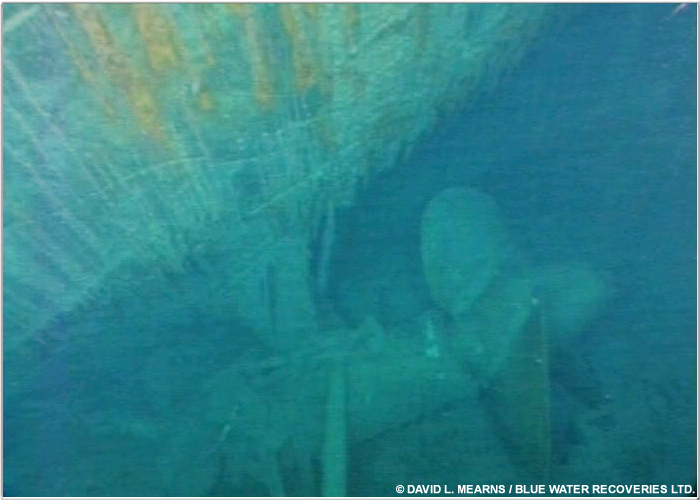
The rudder- set in a turn to port. This proves that Hood had indeed begun a turn to port when she was destroyed. The rudder was controlled through a worm gear mechanism. When the steering linkage was severed, the rudder would very likely have remained frozen. Based upon this, it is confirmed that Hood's final turn had commenced. The paint appears to be dark grey.
A rough mosaic of Hood's stern (showing its correct orientation on the sea floor).
Expedition Overview | Wreck Overview | The Bow | The Midsection | The Stern | Debris, Pt 1 | Debris, Pt 2 | Debris, Pt 3 | Memorial Plaque